 bathroom
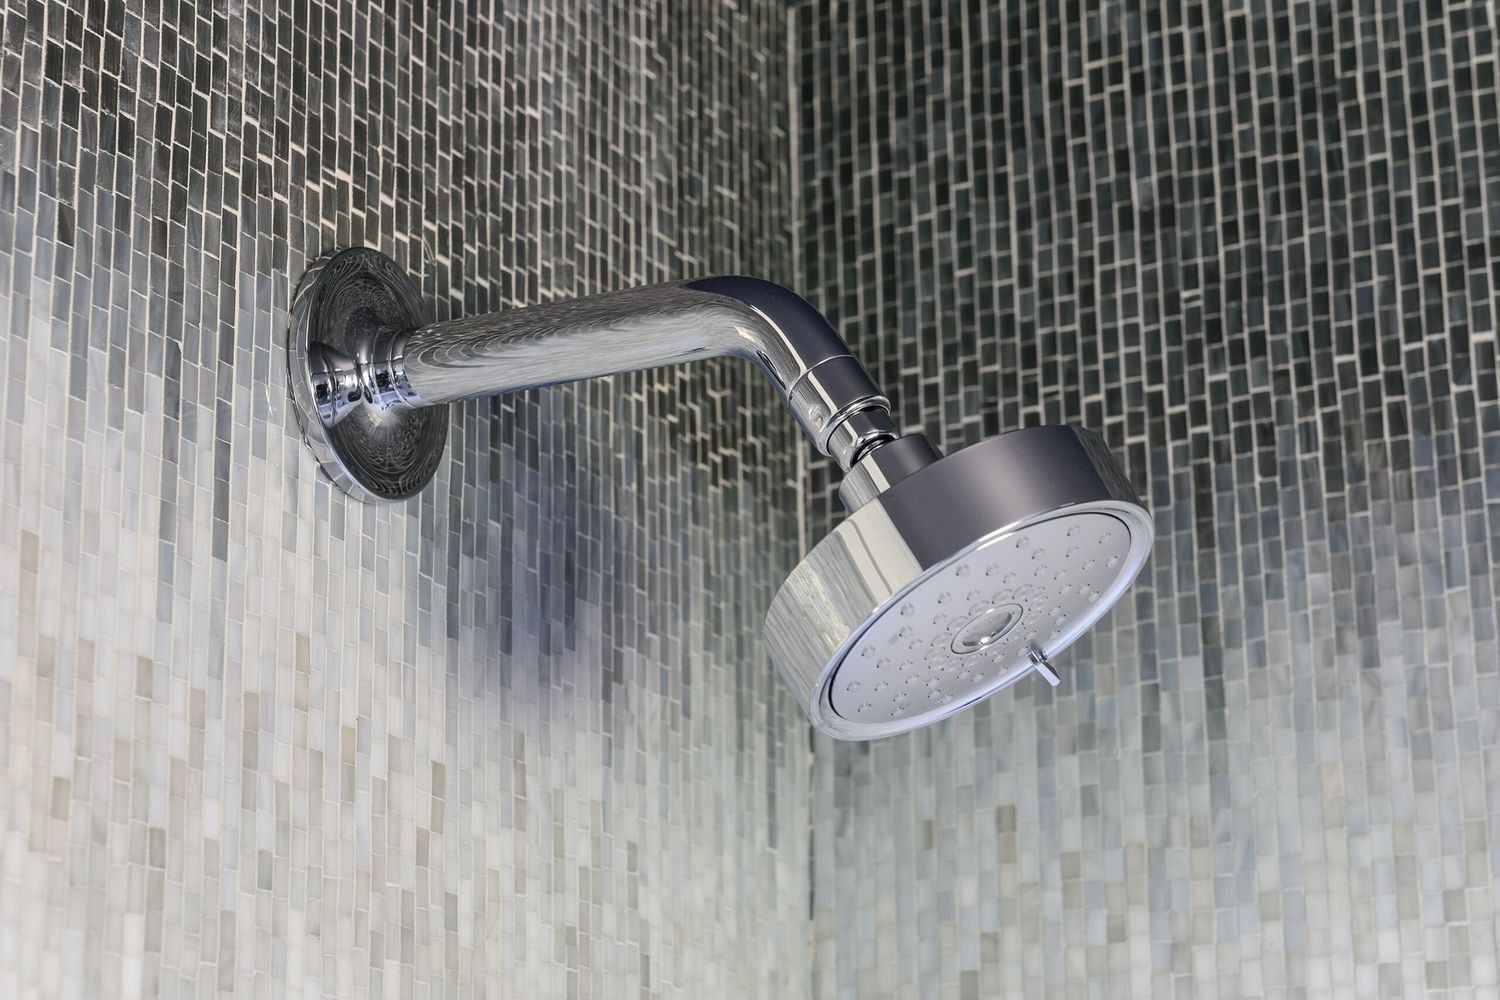
Your shower head is an essential part of your daily routine, yet it’s often overlooked when it comes to cleaning. Regular maintenance on a monthly, quarterly, and annual basis improves both hygiene and functionality. In this guide, we explore why cleaning your shower head is important, how often you should do it, and the best methods to keep it sparkling.
Why Regular Shower Head Cleaning Is Essential
Cleaning your shower head regularly is more important than you might think. Over time, mineral deposits from hard water can build up, clogging the nozzles and reducing water flow. This problem not only affects your shower experience but can also lead to harmful bacteria and mold.
Water flows through your shower head daily, sometimes multiple times a day. This constant moisture, combined with your bathroom’s warm, humid environment, creates an ideal breeding ground for various microorganisms. Regular cleaning helps prevent these issues, leading to a healthier and more enjoyable shower experience.
Health Risks of a Dirty Shower Head
A dirty shower head can pose these health risks:
- Bacterial growth: Moist environments can harbor harmful bacteria such as Legionella.
- Mold and mildew: These can cause respiratory issues, especially in poorly ventilated bathrooms.
- Skin irritation: Mineral buildup can affect water quality, potentially leading to skin problems.
Signs Your Shower Head Needs Cleaning
Recognizing when your shower head needs cleaning is the first step in maintaining a hygienic bathroom. Here are some telltale signs to watch out for:
- Reduced water pressure: If you notice a decrease in water pressure or an inconsistent flow, mineral deposits may be blocking your shower head.
- Uneven spray pattern: A clean shower head should provide a consistent, even spray. If the water is spraying in odd directions or some nozzles aren’t working, it’s time for a clean.
- Visible mineral buildup: One of the most obvious signs that your shower head needs cleaning is visible mineral deposits. These often appear as white, chalky buildup around the nozzles and on the face of the shower head. Calcium and magnesium in hard water typically cause this buildup.
How Often To Clean Your Shower Head
You should generally clean your shower head at least once a month, but you may need to clean it more or less often depending on these factors:
- Bathroom ventilation: Poor ventilation can lead to increased moisture and potential mold growth.
- Shower head material: Some materials are more resistant to buildup than others.
- Shower usage: More frequent use may necessitate more regular cleaning.
- Water hardness: Areas with hard water may require more frequent cleaning due to faster mineral buildup.
Recommended Cleaning Schedule
For most households, we recommend the following schedule:
- Monthly: Perform a basic cleaning to remove surface buildup.
- Quarterly: Do a deep clean using the vinegar soak method.
- Annually: Inspect for any damage and consider professional cleaning if necessary.
Step-by-Step Guide To Cleaning Your Shower Head
Cleaning your shower head doesn’t have to be a major chore. With the right materials and methods, you can easily maintain a clean and efficient shower head.
Materials You’ll Need
To clean your shower head effectively, gather the following materials:
- Gallon-size storage bag
- Microfiber cloth
- Rubber bands
- Soft-bristled toothbrush
- White vinegar
The Vinegar Soak Method
Soaking the shower head in vinegar is highly effective for removing mineral buildup. Here’s how to do it:
- Fill a gallon-size storage bag with about one cup of white vinegar.
- If you can remove the shower head, remove it and place it in the bag.
- If you can’t remove the shower head, carefully place the bag over it.
- Make sure it’s fully submerged in the vinegar.
- Secure the bag with rubber bands around the shower arm.
- Let it soak for at least 8 hours or overnight.
- Remove the bag and run hot water through the shower head to flush out any loosened deposits.
Scrubbing Technique for Stubborn Buildup
For persistent buildup, scrub the shower head as follows:
- After the vinegar soak, gently scrub the nozzles with a soft-bristled toothbrush.
- Use a needle to poke out any stubborn particles in the nozzles carefully.
- Wipe the shower head with a microfiber cloth to restore shine.
Dealing with Lime Scale
Here’s how to clean severe lime scale:
- Detach the shower head from the arm.
- Remove the filter screen inside the fixture using needle-nose pliers.
- Clean the screen thoroughly with a toothbrush and all-purpose cleaner.
- Reassemble the shower head and reattach it to the arm.
Quick Maintenance Tips Between Shower Head Deep Cleans
Keep your shower head in top condition between deep cleans with these tips:
- Wipe down the shower head with a damp cloth after each use to remove water droplets.
- Use a mixture of equal parts water and white vinegar in a spray bottle for quick weekly cleanings.
- Run very hot water through the shower head for a few minutes once a week to help dislodge minor buildup.
Special Considerations for Different Shower Head Types
Different types of shower heads may require different cleaning approaches.
Fixed Shower Heads
Fixed shower heads are the most common type, and you can typically clean them using the standard vinegar soak method. Vinegar can damage or remove finishes such as nickel or brass, so limit the soak time to 30 minutes.
Handheld Shower Heads
Here’s how to clean handheld shower heads:
- Detach the shower head from the hose.
- Clean both the shower head and the hose separately using the vinegar soak method.
- Pay special attention to the connection points, which can accumulate buildup.
Rain Shower Heads
Rain shower heads often have a larger surface area. Clean yours with these steps:
- Use a larger bag or a shallow dish filled with vinegar for soaking.
- Gently scrub the entire surface with a soft cloth after soaking.
- Be extra careful with the edges and mounting hardware.
Professional vs. DIY Shower Head Cleaning
While you can do most shower head cleaning on your own, there are instances when professional help might be necessary, such as the following:
- Complex shower systems with multiple heads or body sprays
- Concerns about water quality or potential contamination
- Persistent low water pressure despite regular cleaning
- Visible damage to the shower head or arm
Preventive Measures To Keep Your Shower Head Clean Longer
To reduce the frequency of deep cleans and maintain your shower head’s performance, take these preventive measures:
- Consider replacing old shower heads with newer, more resistant models.
- Encourage family members to squeegee the shower walls and wipe the head after use.
- Improve bathroom ventilation to reduce moisture.
- Install a water softener to reduce the mineral content in your water.
- Use a shower head with self-cleaning nozzles.
Eco-Friendly Shower Head Cleaning Alternatives
Cleaning your shower head doesn’t have to rely on harsh chemicals. Eco-friendly alternatives can also effectively remove buildup and maintain performance. Here are a few options:
Baking Soda Paste
For a natural scrubbing option, create a paste using baking soda and water as follows:
- Mix equal parts baking soda and water to form a thick paste.
- Apply the paste to the shower head and scrub using a soft-bristled toothbrush.
- Rinse thoroughly with hot water to remove any residue.
Lemon Juice Solution
Lemon juice is a natural acid that can break down mineral deposits and add a fresh scent. Here’s how to use it:
- Combine equal parts lemon juice and water in a spray bottle.
- Spray the solution onto the shower head, focusing on areas with visible buildup.
- Let it sit for 10–15 minutes before rinsing with hot water.
Hydrogen Peroxide Spray
Hydrogen peroxide is an effective disinfectant that can kill bacteria and mold. Follow these steps:
- Pour hydrogen peroxide into a spray bottle without diluting it.
- Spray the shower head thoroughly, checking that all surfaces are covered.
- Allow it to sit for about 15 minutes before rinsing with hot water.
How to Properly Reassemble and Reattach Your Shower Head
After cleaning, you need to reassemble your shower head. Mistakes during reassembly can lead to leaks or reduced performance. Here’s a straightforward guide:
- Attach the shower head: Reattach the shower head to the arm, making sure it is tightly secured but not overly tight to avoid damaging the threads.
- Check for leaks: Turn on your shower to check for any leaks. If you detect any, check that all parts are tightly secured.
- Inspect O-rings and washers: Before reassembling, check O-rings and washers for wear and tear. Replace any damaged parts.
- Reinstall the filter screen: Place the thoroughly cleaned filter screen back inside the fixture.
Source: https://www.thisoldhouse.com/cleaning-how-to/22870427/cleaning-a-shower-head
You may also like

